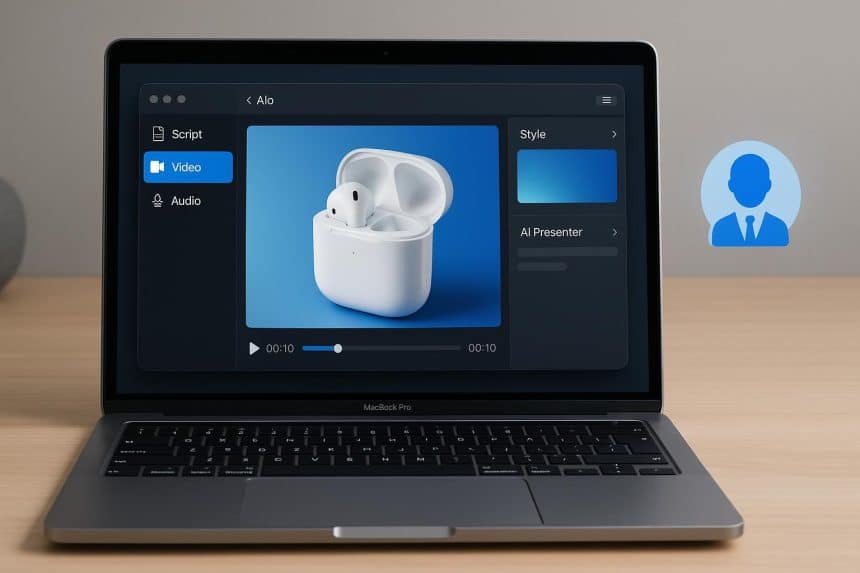
Product demos are the highest-leverage asset in any go-to-market motion. A bad demo loses deals; a great one closes them. Yet most teams still treat demo production as a manual editing exercise — scrubbing timelines, keyframing zooms, and rendering overnight.
The AI video generator category has matured to the point where you can produce studio-grade demos entirely on a Mac, often without touching a traditional NLE (non-linear editor). The workflow is no longer “record, edit, export.” It’s “record, auto-enhance, generate supplementary assets, assemble.”
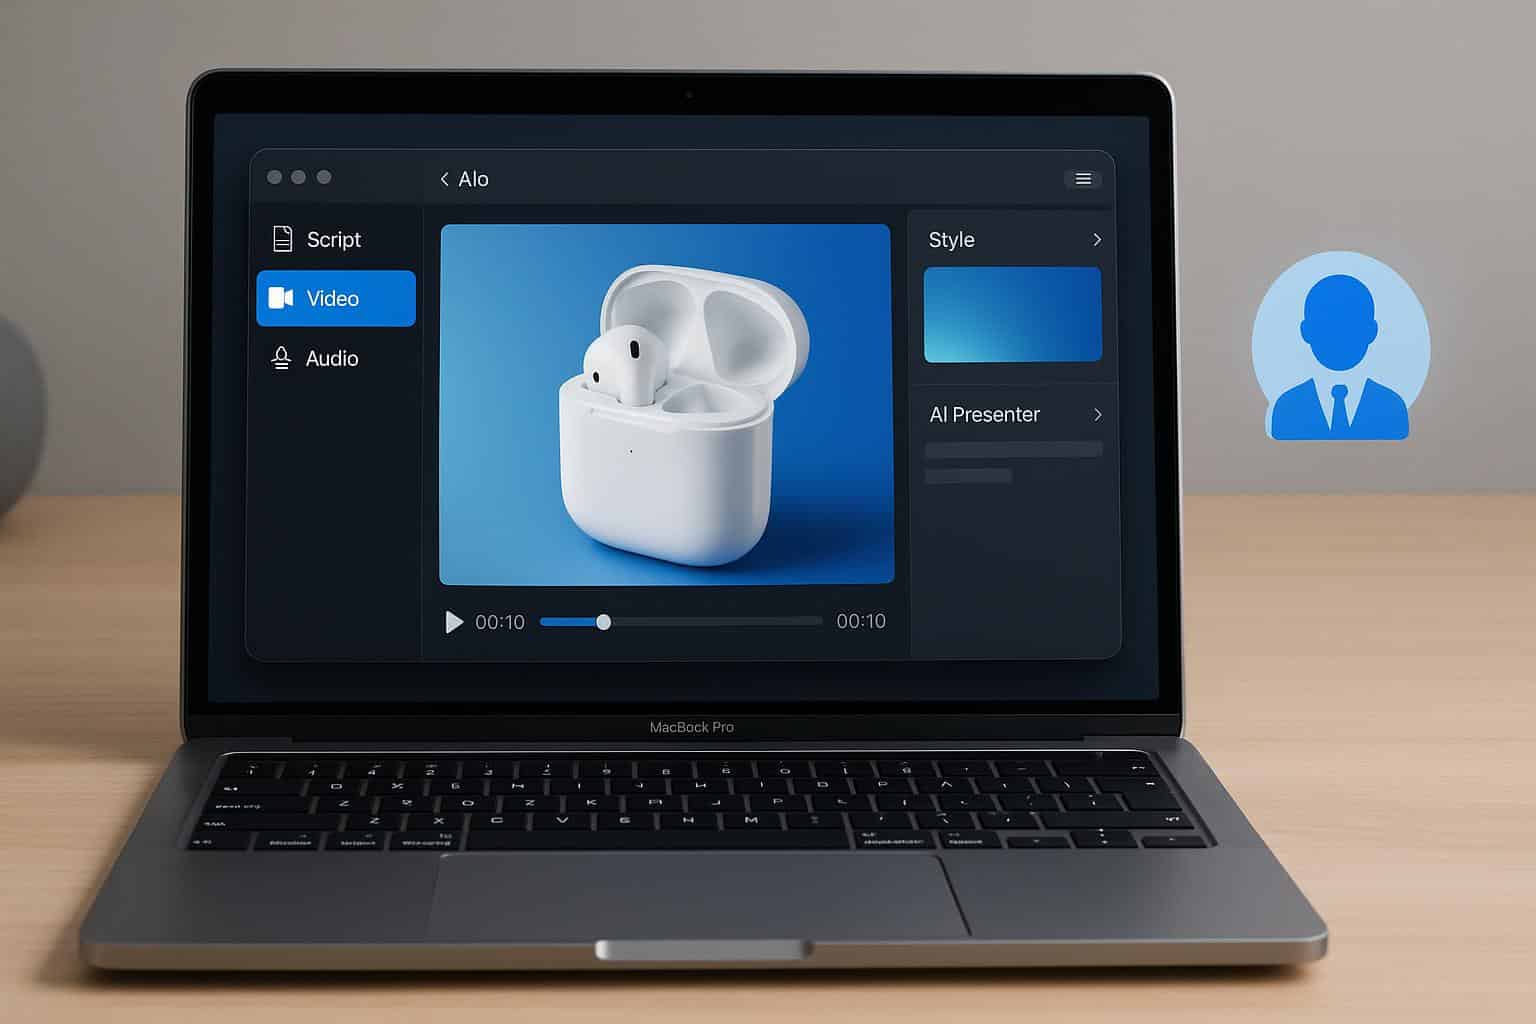
This guide covers the practical, tool-agnostic workflow for creating professional product demos using AI video generators on macOS — from screen capture to final export.
Phase 1: Capture — Getting the Raw Material Right
AI can enhance, but garbage in, garbage out still applies. The capture phase determines the ceiling of your final output.
AI-Native Screen Recorders
Several macOS-native tools now wrap screen capture with AI post-processing:
- VEED’s cross-platform screen recorder captures screen, webcam, and audio with one click. AI handles trim, zoom, and captions—all within the same project—no tool-switching, from recording to export.
- Screenify Studio lets you stage any capture inside a photo-realistic 3D MacBook or iPhone, direct the shot with cinematic camera motions, and export directly from a timeline editor — or drive the whole thing from the terminal. This is particularly useful for demos that need device framing without manual masking.
- Dina is a native macOS screen-recording and video-editing app that automatically applies device mockups and keyframe transitions to mobile recordings. It also includes AI filler removal.
- Glideo automatically converts raw screen captures using AI to track clicks and cursor movements, applying smooth zooms and eliminating the need for manual keyframing.
- CursorClip is a lightweight native macOS screen recorder with auto-zoom effects, perfect for demos that need cinematic motion without timeline editing.
For open-source workflows, Capptivo offers smart follow-cursor zoom, click-based auto-zooms, editor presets, and on-device captions. OpenScreen provides similar capabilities with full or app-specific recording and local processing.
Native macOS Capture (QuickTime Player)
QuickTime Player is underrated for demo capture. It records screen and microphone simultaneously, supports 60 fps, and produces ProRes-adjacent quality with zero compression artifacts. The trade-off: no built-in zoom or cursor tracking.
Command: Cmd + Shift + 5 launches the native capture overlay. Select “Record Entire Screen” or “Record Selected Portion.” For UI demos, record at the display’s native resolution — downscaling later is fine; upscaling is not.
The Technical Baseline
- Resolution: Record at 1080p minimum, 4K if your target platform supports it. Downscaling preserves detail; upscaling introduces artifacts.
- Frame Rate: 30fps for standard demos, 60fps for motion-heavy interfaces (animations, scrolling, drag-and-drop).
- Audio: Record system audio + microphone separately if possible. AI voiceover generation (covered later) can replace microphone audio, but having a reference track helps with timing.
Phase 2: Scripting — The Blueprint Before Generation
AI video generators are prompt-driven. The quality of the output is directly proportional to the quality of the script and scene breakdown.
Scene-by-Scene Decomposition
Don’t feed an AI a single “make a demo” prompt. Break the demo into discrete scenes:
- Problem statement (5-10 seconds): What pain point does this solve?
- Product reveal (5 seconds): Show the product in context.
- Feature walkthrough (20-40 seconds): Step through 2-3 key features.
- Outcome/value prop (10 seconds): What changes after using this?
For each scene, write a 1-2 sentence prompt that describes the visual, the action, and the planned emotional response. This level of granularity allows the AI to generate targeted assets rather than a generic montage.
Script-to-Voiceover Pipeline
Tools like Tutorial AI automate scripting, narration, and editing in a unified pipeline. The workflow:
- Write or paste your script.
- The AI generates natural-language voiceover with configurable pacing.
- The voiceover is synced to scene timings.
For developers comfortable with the CLI, the look-demo package generates product demos from a URL with AI voiceover in a single command: npx look-demo quick https://your-app.com.
Reference Images
AI video generators produce better results with visual references. Collect 1-3 reference images of the product — clean backgrounds help the model understand the subject. For UI demos, take clean screenshots of key interfaces to use as style references.
Phase 3: Generation — Where AI Does the Heavy Lifting
This is the core of the workflow. AI video generators on macOS fall into several categories:
Text-to-Video Generators
These generate video clips from text prompts alone:
- VEED AI text-to-Video – A browser‑based AI video generator that turns text prompts into engaging clips, complete with automatic captions, background music, and style presets. It’s designed for speed and simplicity, making it a favorite for product demos, social ads, and explainer videos.
- Viora (powered by Veo 3.1) supports text-to-video, start/end scene uploads, and reference2Video for AI-powered storytelling. It runs natively on Mac and includes AI-generated audio with background music.
- VideoX Studio is a professional-grade AI video generation tool for macOS, designed for product visuals, cinematic sequences, and character animation.
Screen Recording + AI Enhancement
These tools capture your screen and apply AI post-processing:
- Tella is an AI-powered screen recorder and video editor for Mac that simplifies demo creation.
- Tight Studio includes automatic zoom, caption editing with built-in styles, AI voiceover, music library, and text overlay animation.
Avatar-Based Generators
For demos that require a presenter:
- VEED’s AI avatars deliver natural lip-sync and expressive delivery right in your browser. Choose a presenter, paste your script, and generate a polished talking-head in minutes—no studio required. Best of all, your avatar, screen capture, B-roll, captions, and music all live in one project, so you never need to juggle multiple tools.
- HeyGen specializes in sales demos and onboarding with script-to-avatar video, delivering snappy lip-sync and an easy teleprompter.
The Hybrid Workflow
The most efficient approach unites multiple tools:
- Capture with Glideo or Screenify Studio for auto-zoomed screen recordings.
- Generate B-roll with Viora or VideoX Studio for supplementary cinematic shots (product close-ups, lifestyle context, animated diagrams).
- Assemble a tool like Tutorial AI that handles timeline stitching, voiceover, and captions.
For open-source and CLI-driven workflows, tools like vif (agentic app video and screenshot generation) provide screen capture, browser automation, and visual overlays using native macOS tools.
Phase 4: Post-Processing — The “Professional” Polish
AI-generated demos often need light post-processing to feel finished.
Captions and Subtitles
On-device caption generation is now standard in tools like Capptivo and Dina. For word-level captioning with AI dubbing and voice cloning, tools like DevMotion offer browser-based editing with AI auto-captions.
Technical consideration: Captions should be burned in for social platforms (TikTok, LinkedIn, Instagram) but kept as soft subtitles for embedded web players to support accessibility toggling.
Scene Extension and Continuity
When generated clips are too short or need bridging, use AI scene extension. The Veo 3.1 model includes a “scene extension” feature that lengthens clips or bridges the gap between shots while maintaining continuity.
Aspect Ratio Adaptation
Product demos need to work across multiple platforms. The same demo should exist in:
- 16:9 for web and YouTube
- 9:16 at TikTok, Instagram Shorts, and YouTube Shorts
- 1:1 for LinkedIn and Facebook feeds
Tools like Screenify Studio support exporting in multiple aspect ratios from the same capture. For AI-generated footage, generate at the highest resolution and crop programmatically rather than regenerating per format.
Audio: Voiceover and Music
AI voiceover has become indistinguishable from human narration. The workflow:
- Script — Write the narration script.
- Generate — Use the built-in TTS in tools like Tutorial AI or Tight Studio.
- Adjust — Modify pacing and emphasis. Most tools allow adjustments to speed and pitch.
- Layer — Add background music at 18dB to -24dB relative to the voiceover.
Phase 5: Export and Distribution — The Final Mile
Format Selection
- MP4 with H.264 — Universal compatibility, good for web embedding.
- MP4 with H.265/HEVC — Smaller file size, better quality, but less compatible with older browsers.
- ProRes — For master files if you plan to re-edit later.
Bitrate Guidelines
| Resolution | Target Bitrate |
|---|---|
| 1080p 30fps | 8-12 Mbps |
| 1080p 60fps | 12-16 Mbps |
| 4K 30fps | 35-45 Mbps |
| 4K 60fps | 50-68 Mbps |
File Size Optimization
Mac-native tools like Macxvideo AI provide over 20 AI-powered tools for enhancement, conversion, compression, and recording with full graphics processing unit acceleration. Use hardware encoding (Apple’s VideoToolbox) for faster exports.
Tool Stack Recommendations
| Role | Tool | Key Capability |
|---|---|---|
| Web-Based / Cross-Platform | VEED AI video generator | AI video generation, captioning, and editing in browser, script |
| Screen Capture + Device Framing | Screenify Studio / Dina | 3D device mockups, cinematic camera |
| AI Video Generation | Viora (Veo 3.1) / VideoX Studio | Text-to-video, reference2Video |
| Avatar-Based Demos | HeyGen | Script-to-avatar, teleprompter |
| Screen Capture + Auto-Zoom | Glideo / Cursor Clip | AI-driven cursor tracking, no keyframing |
| Open-Source | Capptivo / OpenScreen | Free, local processing, no subscriptions |
| CLI / Automation | look-demo / vif | One-command demos, browser automation |
| All-in-One Pipeline | Tutorial AI / Tight Studio | Scripting + recording + editing + voiceover |
The Bottom Line
The AI video-generation ecosystem on macOS has matured beyond the “toy” phase. The workflow is no longer about learning complex editing software — it’s about comprehending the capture-to-generation pipeline, writing precise scene prompts, and knowing which tool to apply at each stage.
The technical barrier has dropped. The strategic barrier — knowing what to show, in what order, and to whom — remains. Use AI to handle the rendering, but never outsource the storytelling.