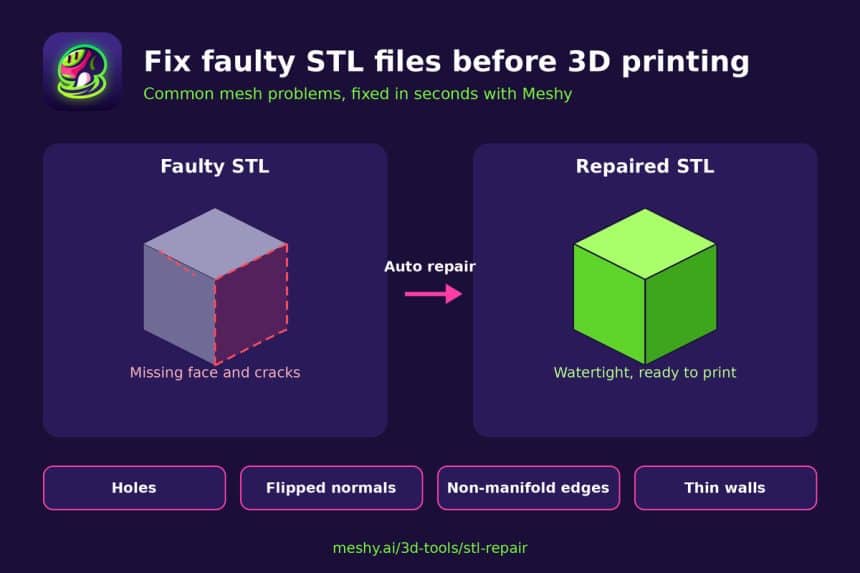
You download a model, slice it, and discover missing layers, gaps in the walls, or unexpected errors. In many cases, the mesh—not the printer—is the cause.
An STL file is structurally simple. It represents the outer surface of a model as triangles and does not store color, texture, or units. That simplicity makes the format widely compatible, but it also leaves room for errors during export, scanning, or conversion.
Why a “Broken” STL Matters
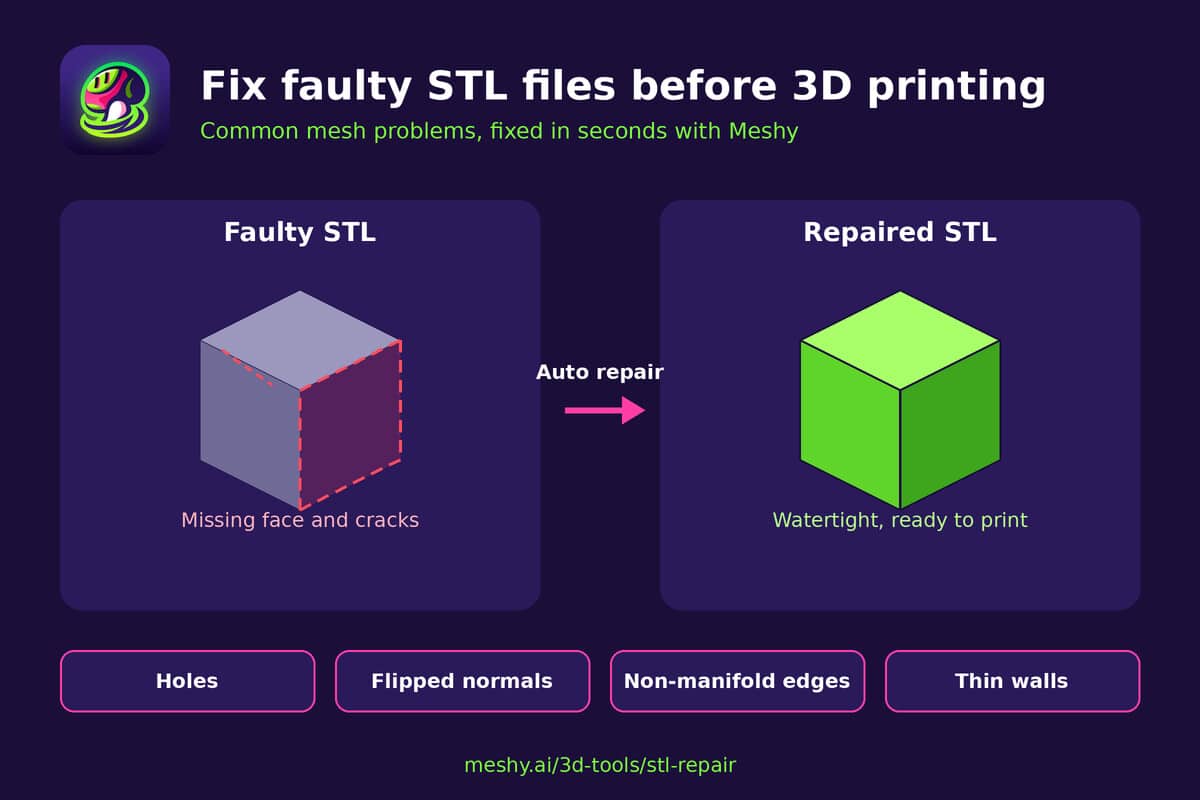
A slicer needs to distinguish the inside of an object from the outside. A closed, watertight manifold mesh provides that information; open or ambiguous geometry forces the slicer to guess, which can produce failed or incomplete prints.
The most common mesh errors
1. Gaps and holes. Missing triangles leave openings in the mesh. These can result from export problems, scans, or unfinished Boolean operations. Even a small hole can cause slicing errors; a large one may remove layers or collapse sections of a wall.
2. Non-manifold edges. This occurs when three or more faces meet at one edge or when two components of the design connect at one point or edge. The slicer is unable to distinguish between the inside and the outside, leading to dropped geometry or weird tool paths.
3. Inverted normals. There is an orientation on each triangle which tells the slicer how to orient the triangle towards the outside of the object. When triangles are oriented inward, then solid material may be treated as void.
4. Self-intersections. Some parts of the mesh go through other parts of the mesh itself. This usually occurs when one tries to unite a number of objects into one, but fails to do so properly. It looks right on the screen, but creates confusion for the slicer to determine the contents.
5. Overlapping or duplicate vertices and faces. Duplicate geometry increases file size and can create non-manifold regions. This is common in files that have passed through several conversions.
6. Zero-area triangles or degenerate triangles. These are triangles that become lines or points, and while they are difficult to see with the naked eye, they complicate the operation of slicing algorithms.
7. Internal faces and stray shells. Floating bits of geometry inside the model, or loose fragments outside it, can add unwanted material or confuse support generation.
8. Walls that are too thin. Not technically a mesh issue, but it causes similar troubles. If the wall is too thin for your nozzle to print, then the slicer may completely skip it.
How to spot problems before you print
You don’t have to find errors by eye. A few quick checks will do it:
- Look at the slicer preview layer by layer. Missing walls or odd gaps are a red flag.
- Check for slicer warnings. PrusaSlicer, for instance, will tell you when it auto-repairs a mesh, and Cura may show an unexpected result in the preview.
- Run a mesh analysis tool. The 3D Print Toolbox for Blender and Meshmixer’s inspector detect non-manifold edges, holes, and overhangs.
Quick repair methods
Let your slicer try first
Many slicers attempt to repair small problems during import. PrusaSlicer, Bambu Studio, and OrcaSlicer include automatic repair behavior. If the layer preview is clean afterward, the file may be usable, but inspect it carefully before printing.
Use Windows 3D Builder
If Microsoft 3D Builder is installed on Windows, it can offer an automatic repair when opening a damaged model. The repair is fast but may remove detail, so compare the result with the original.
Repair manually in Blender
Blender is powerful and free, although its repair workflow has a learning curve. A common process is:
- Import the STL file and enable the 3D Print Toolbox.
- Run Check All to list the problems.
- In Edit Mode, select the mesh and use Merge by Distance to remove duplicate vertices.
- Recalculate incorrectly oriented faces with Mesh > Normals > Recalculate Outside.
- Fill the holes using Mesh>Clean Up>Fill Holes.
- Run the test again, and then export the file.
Use Meshmixer or Meshlab
Meshmixer’s Inspector can detect and correct many common problems, while MeshLab includes filters for duplicate faces and holes. Meshmixer is no longer actively developed, so evaluate it carefully before adding it to a long-term workflow.
Use an online repair tool
If you want a quick browser-based option, try this tool to repair holes, flipped normals, non-manifold geometry, self-intersections, and duplicate or isolated vertices. After downloading the repaired file, inspect it in your slicer before printing.
A sensible repair workflow
Rather than switching randomly among tools, use a consistent sequence:
- Inspect first. Learn what is broken before you mend it.
- Run an automatic repair. Start with your slicer or a dedicated repair tool.
- Manually fix whatever is left. Larger holes, self-intersections, and thin walls require human intuition.
- Verify the result. Slice the repaired object and inspect the layers. Do not assume success simply because a tool reported that the repair completed.
- Save a clean copy. Keep the original copy along with the corrected one, in case the corrections made have altered something that you intended.
Issues to look out for
Automatic repair is not a solution to every problem. Aggressive hole filling can close intentional openings, while smoothing can soften sharp edges or text. For parts with functional tolerances—such as threads and snap fits—compare the repaired file with the original and remeasure critical dimensions.
Consider the source of the file. If you created it, a corrected export may be better than repairing the output. Scans often require more cleanup. If you repair files frequently, a dependable automated tool can save time, but every result still needs verification.
Final thoughts
Corrupt or incomplete STL files are frustrating, but many common problems are repairable. Inspect the mesh, apply the least aggressive repair that works, verify the sliced result, and keep both the original and corrected versions.